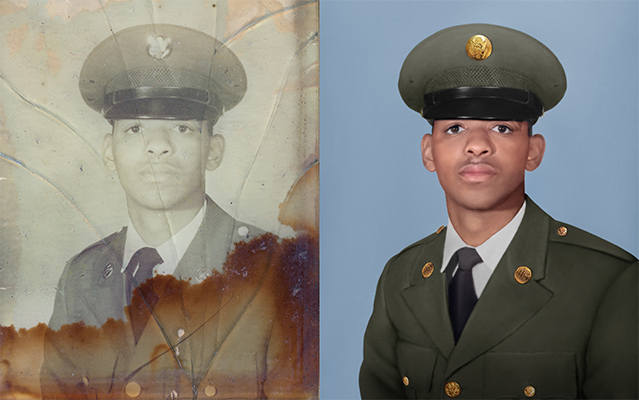
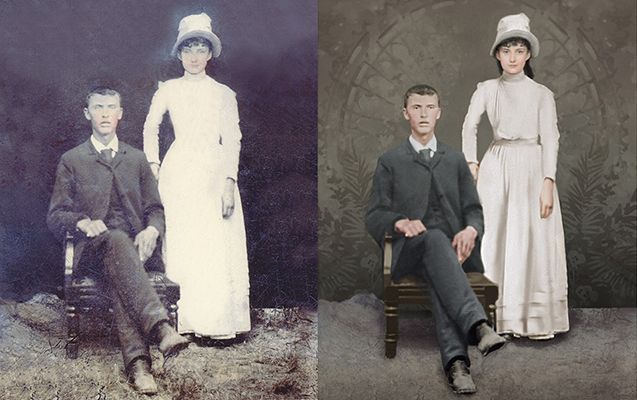
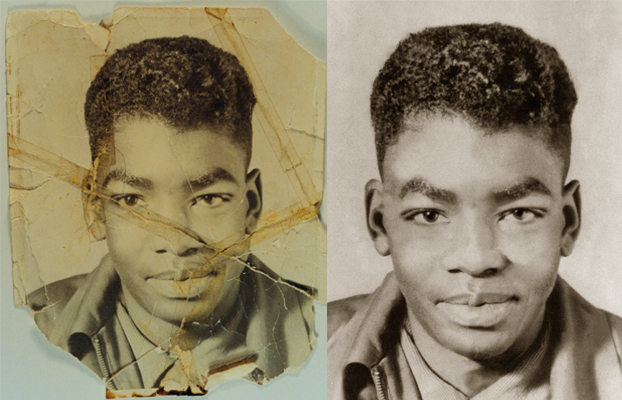
Photographs degrade. In most cases it's an unfortunate inevitability. Improper storage or longterm exposure to the sun's ultraviolet rays gradually lead to fading, distress, distortion, and sometimes even mold. For various reasons, some photographs get destroyed in other ways, being torn apart or suffering fire damage or any number of sad fates. No one can restore a physically damaged photo; what we do is scan your damaged image onto our computers, restore them digitally, and print them for you on quality photopaper. Photographs represent dear memories; our mission is to restore your photos as closely to their original appearance as possible, such that these memories may be preserved. Below are some examples of the various types of photo degradation and an introduction to how we deal with them.
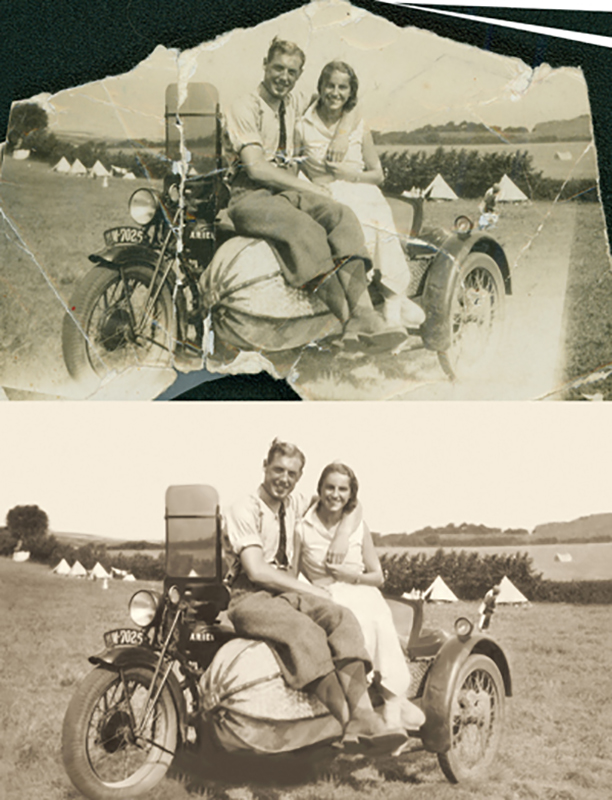
This photo was torn into several pieces. The customer taped it back together, but the pieces didn't fit right. We brought the photo back to its original appearance by manually realigning the face and using existing pieces of the photo skillfully to cover the torn areas.
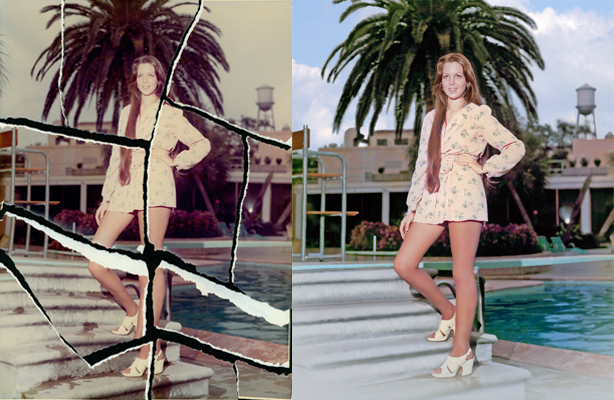
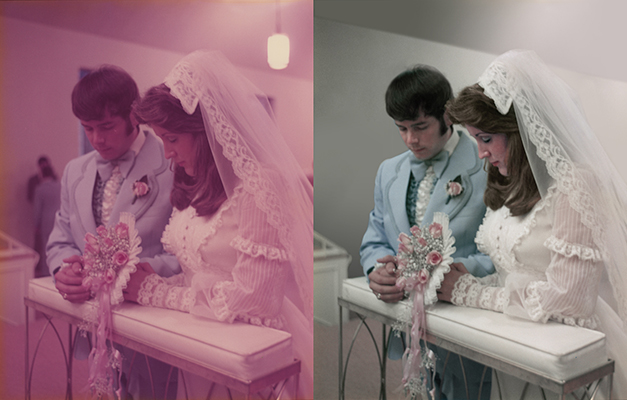
Restoring this photo involved a similar process to the preceding one. Like solving a puzzle, we align the separate pieces as closely as possible, and then we cover up the remaining cracks. This photo had also undergone moderate fading and color distortion, which we corrected to look as if the photo had very recently been taken.
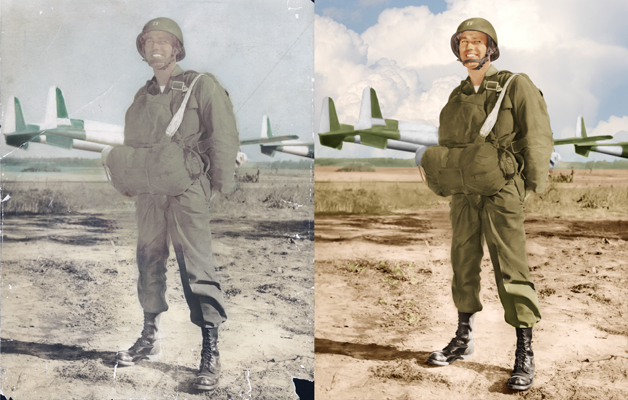
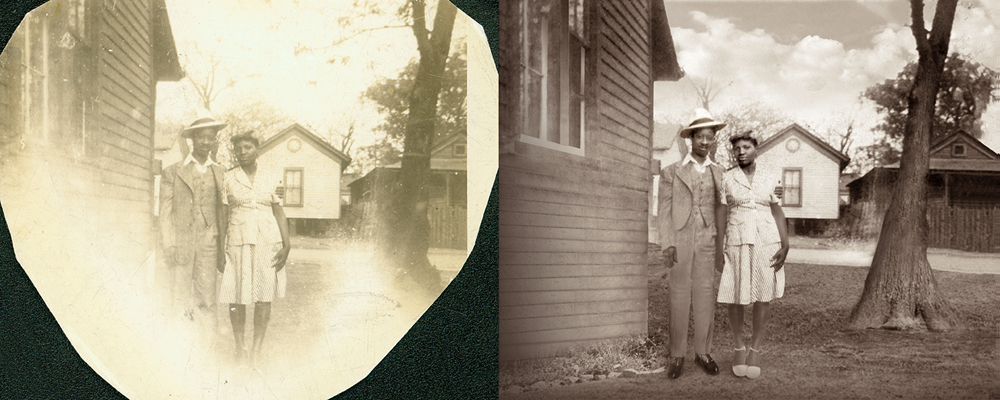
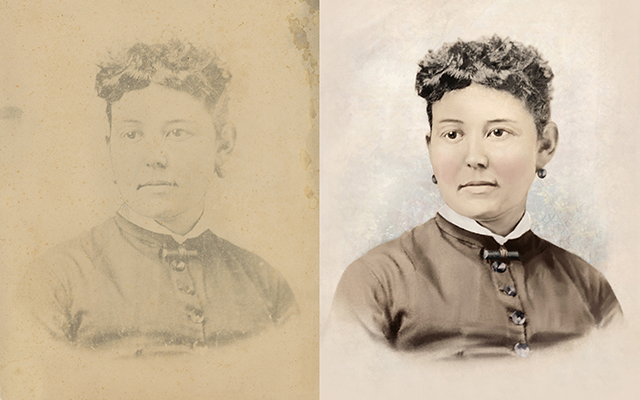
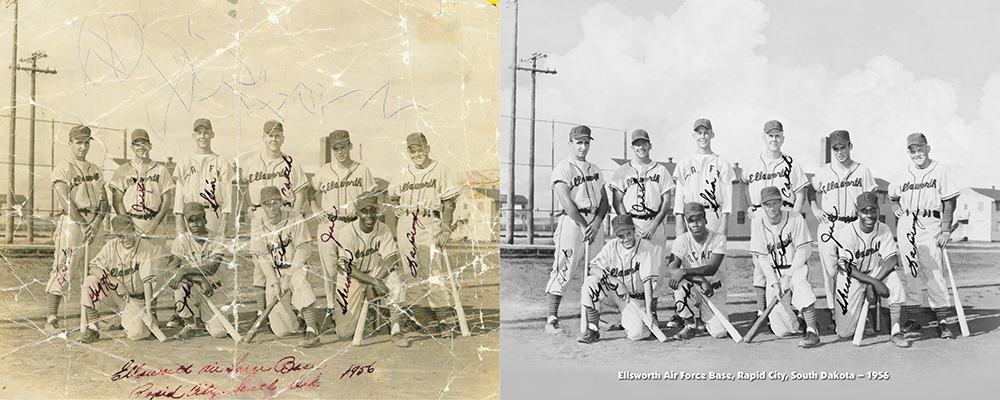
The owner of this faded photograph attempted to recolor it by hand, eliminating some of the midtones and rendering the image rather flat. We brought back those subtle tones and hues and placed some clouds in the background for added depth.
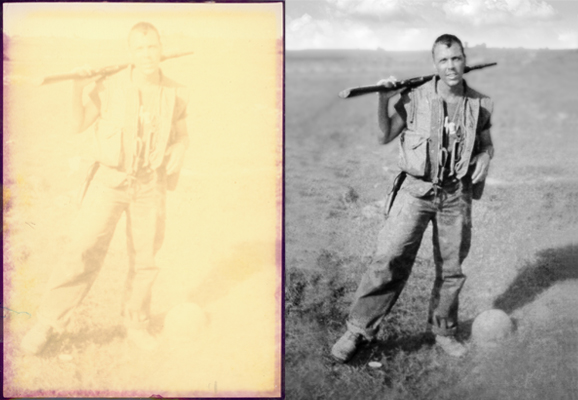
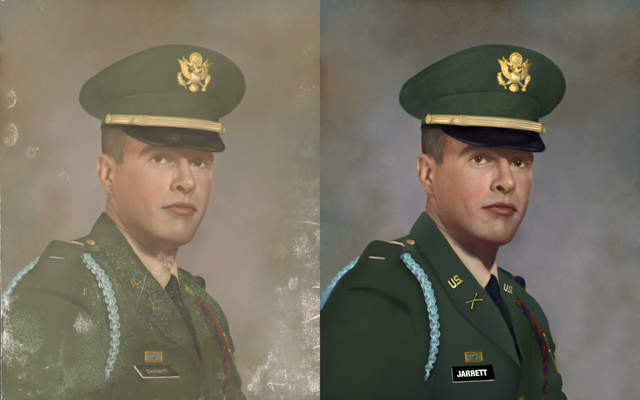
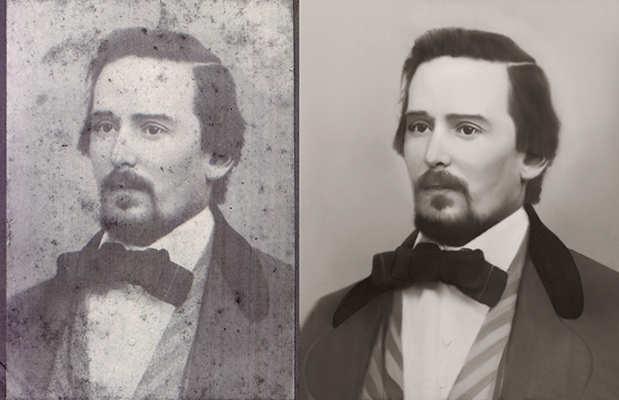
This was one of the most difficult photos we've ever worked on. It had so badly degraded that important details like the subject's face and the texture of his uniform were nearly invisible. With a combination of our time-honed restoration skills and our powerful software, we created a finished product that looks as good as new.
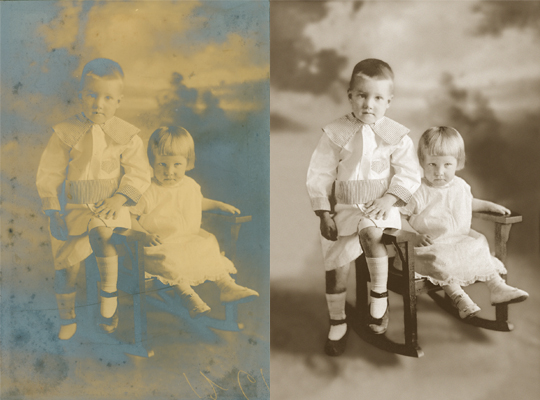
Often the result of improper storage, silver mirroring affects many old photographs and prints. Silver mirroring is a light blue, reflective sheen that manifests in the darkest shadows of a photograph. It may be localized and relatively unobtrusive or, as in this example, completely ruin the dark tones of an image. With such photos, we selectively darken only those areas affected by the mirroring. It's a painstaking process, but the result is worth the effort.
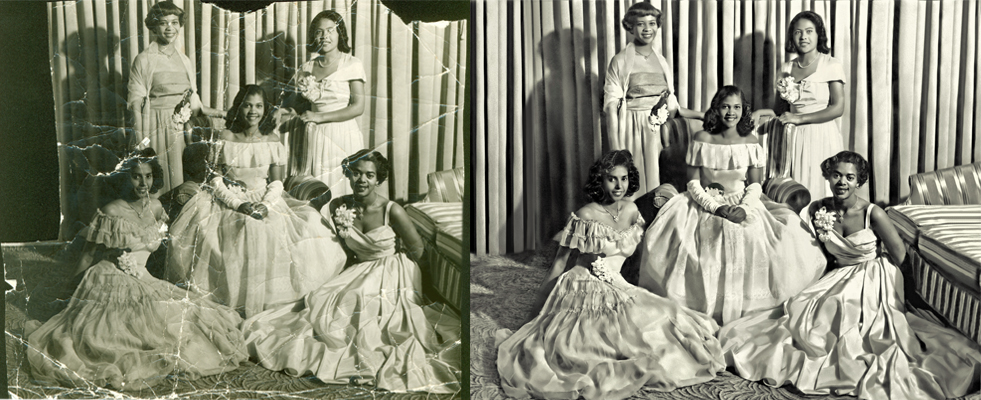
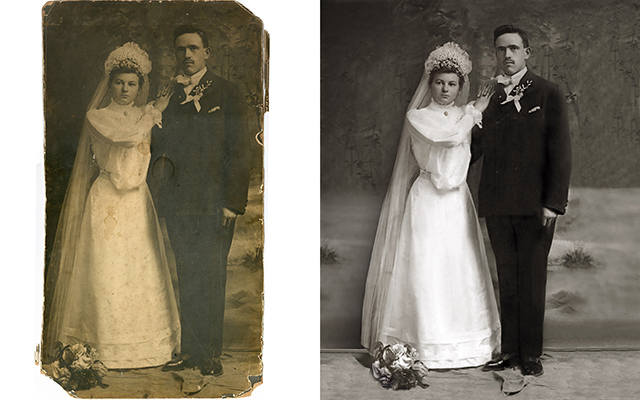
This photo was badly creased. Restoring any photo with such prominent creases is a difficult and delicate process. This one proved particularly challenging, given that the creases intersect with the intricate fabric patterns of the subjects' dresses. We were able to restore the image without losing any of the beautiful textures.
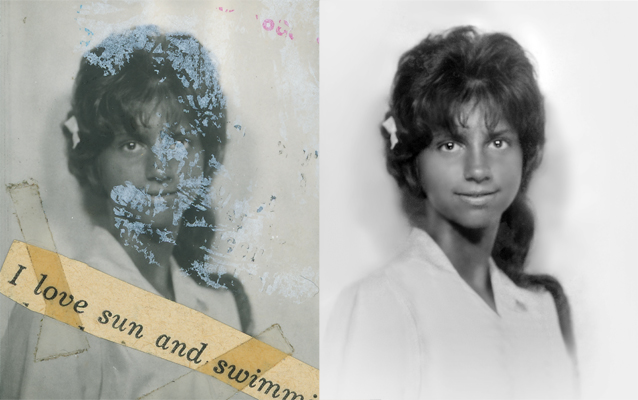
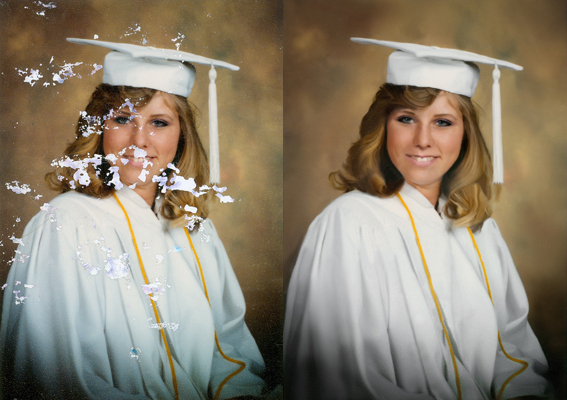
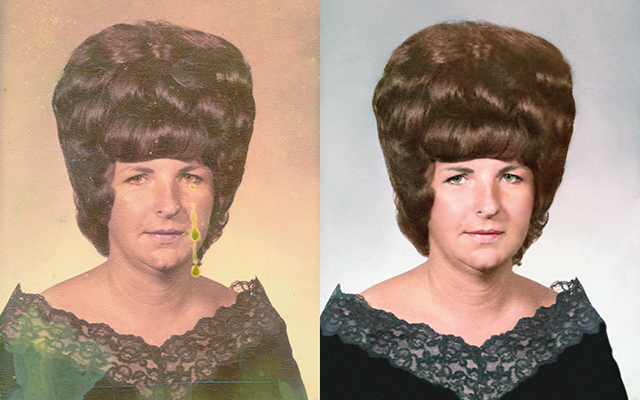
This photo was scarred by both a taped newspaper clipping and residue from another photo that had been stuck on top of it. We borrowed unmarred pieces from the photo itself, as well as selections from other photos in our extensive library, to restore the portrait to its original beauty.
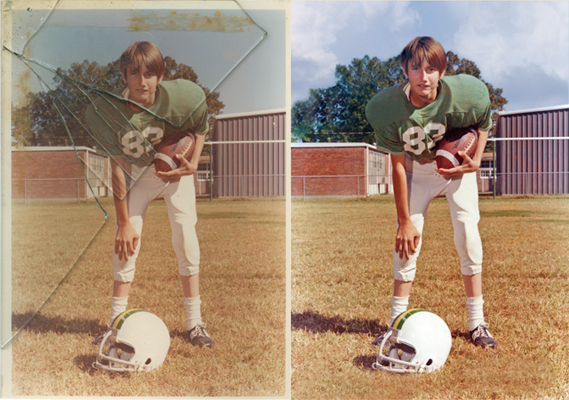
This photo was stuck to the glass that covered it. Photos stuck to glass are among the most common that customers bring us. Restoring this particular photo, which was only half covered in glass, involved not only removing the cracks and edges of the glass but also matching the colors of the area covered by glass to those of the area not covered by glass.
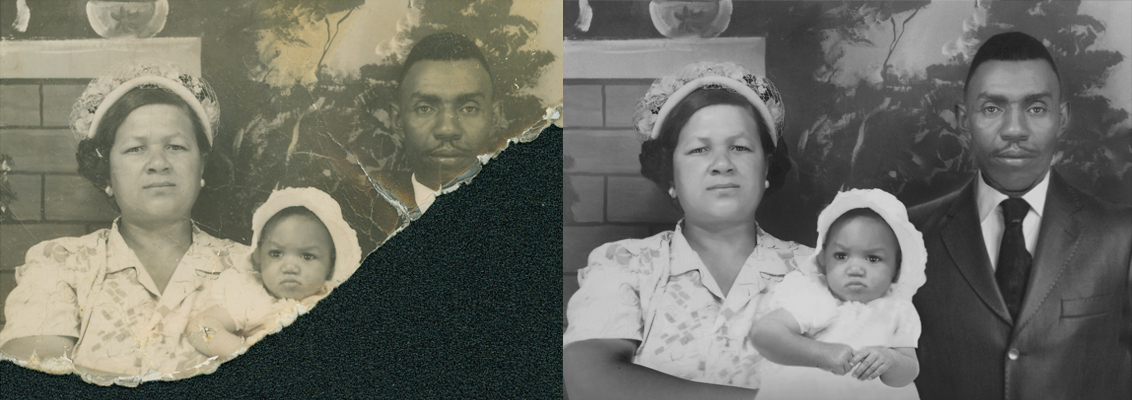
Every now and then we get a photo like this one, which would seem to require a near miracle to restore. To accomplish this, we had to borrow pieces from multiple other photos, then edit their size, orientation, and lighting so that they appeared to sit naturally in the image. A difficult job, but one well worth the effort.
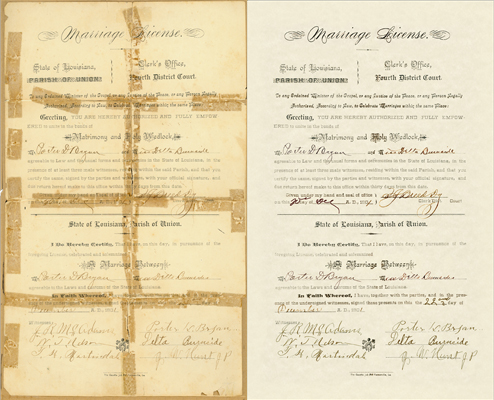
We don't only work with photographs. We can restore any image you bring us. With our expertise in image editing, we were able to remove the tape from the above marriage license and correct for the yellowing, restoring to the document to how it appeared when originally printed.
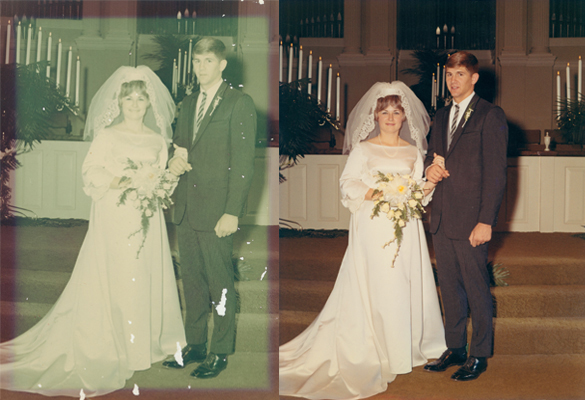
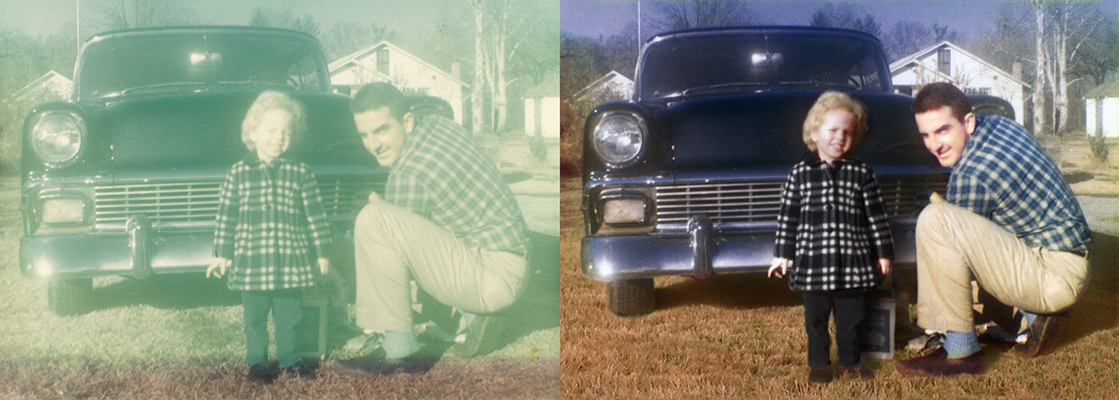
This type of photo damage is one we commonly see with framed images. Due to edges of this photo having been protected by the edges of its frame, they degraded at a different rate from the rest of the photo, which had been exposed to direct sunlight. In addition to correcting the colors of both the center and the edges and matching them, we also extending the background on the right side and the top of the photo in order to achieve a more balanced composition.
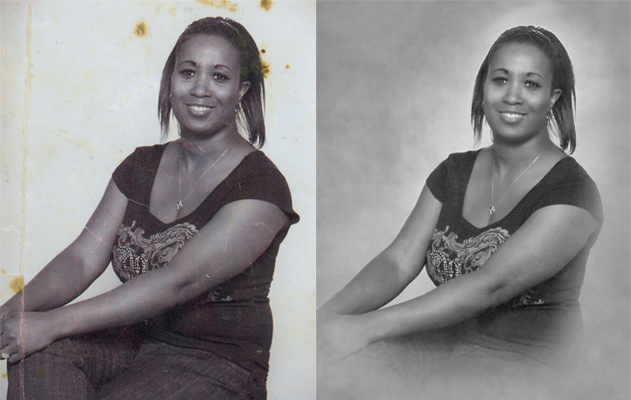
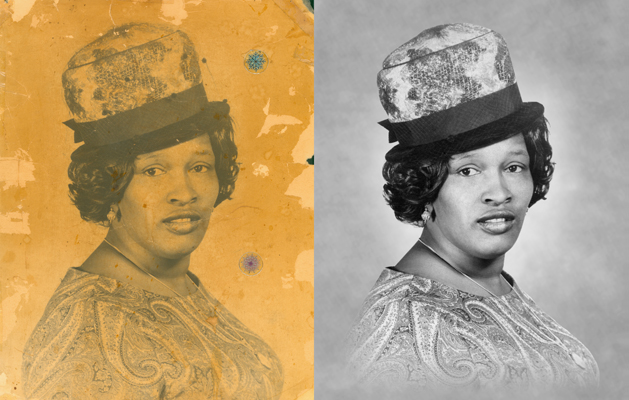
This photo, while fairly low in difficulty compared to much of our work, had some light scratches, a crease on the left, and several spots of mold. But the most significant alteration we made was to the background, which was originally blank and dull. By substituting in a professional portrait backdrop and vignetting the edges, we transformed this nice but casual photo into a lovely, professional looking portrait.

